How I Learned to Make Korean Onion, Garlic, and Cabbage Jangajji (My Grandmother's Recipe)
How I Learned to Make Korean Onion, Garlic, and Cabbage Jangajji (My Grandmother's Recipe)
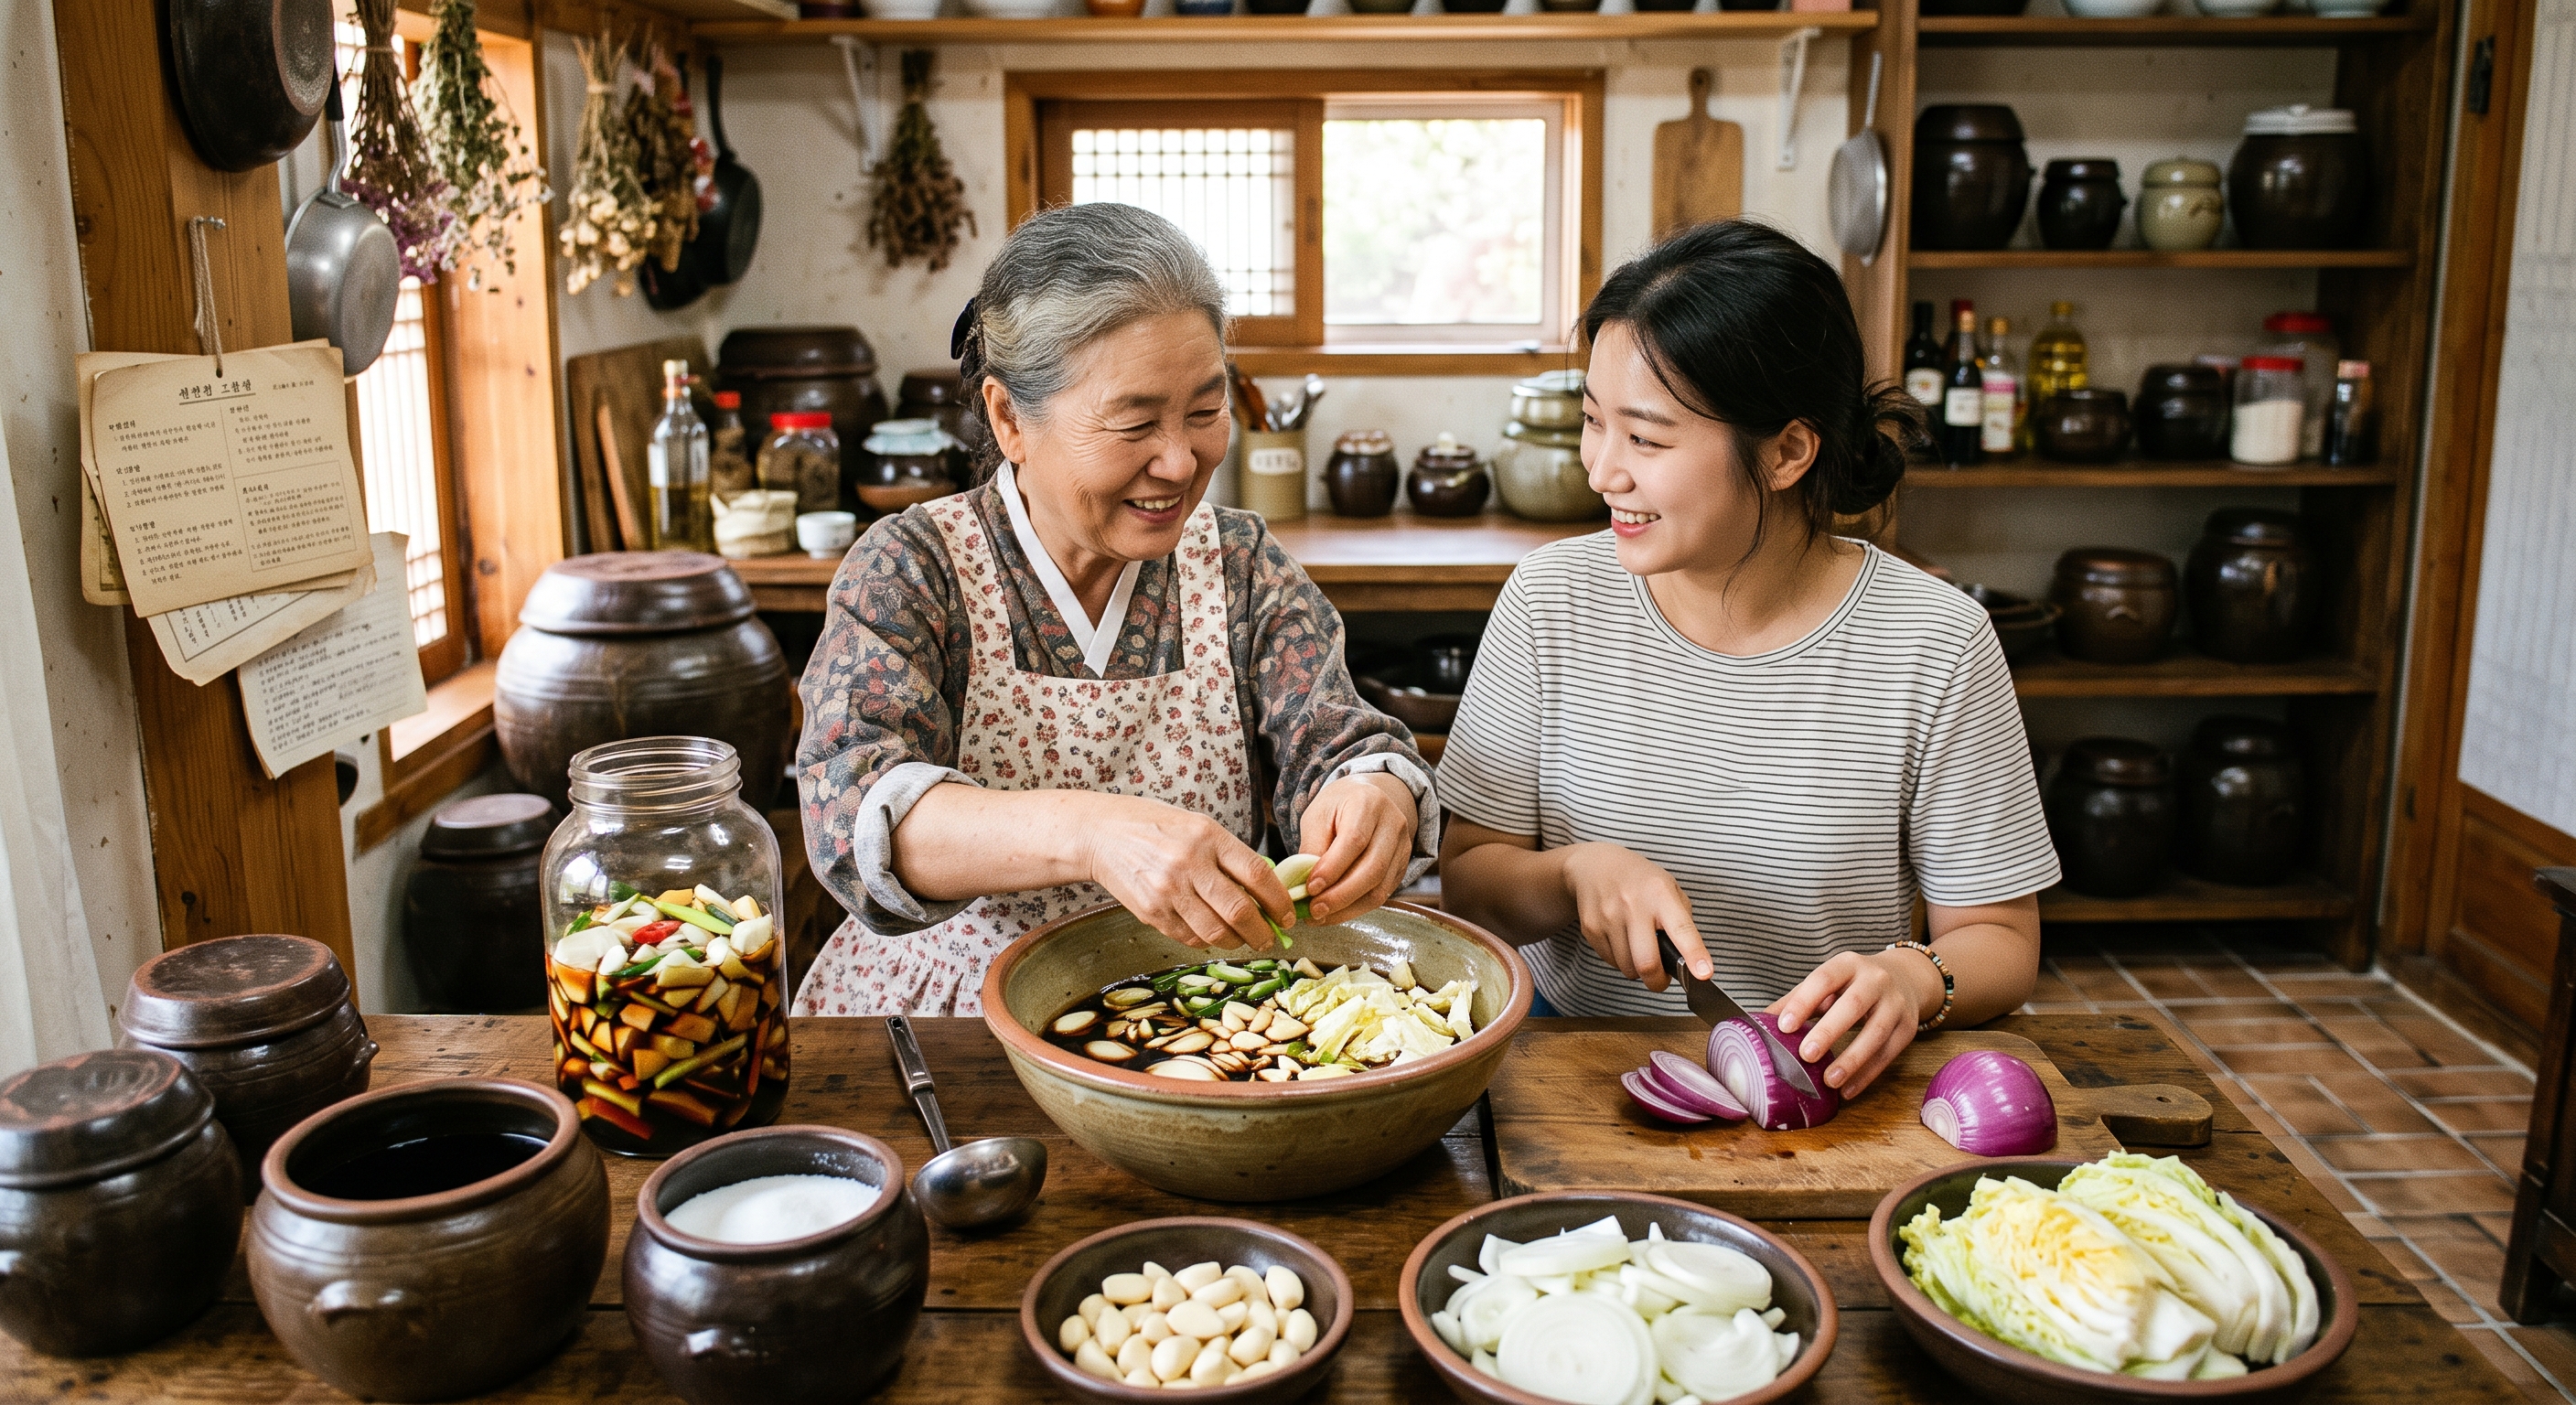
I still remember the smell of my grandmother's kitchen in late spring — the sharp bite of vinegar, the deep umami of soy sauce simmering on the stove, and jars lined up on the counter waiting to be filled. That's how I first fell in love with jangajji (장아찌), Korean pickled vegetables that are salty, tangy, slightly sweet, and impossibly addictive with a bowl of warm rice.
After years of trial and error (and a few too-salty batches that I had to rinse and re-season), I finally landed on a version of onion jangajji, garlic jangajji, and cabbage jangajji that I make almost every month now. Today I'm sharing exactly how I make it at home, plus why this humble Korean side dish (banchan) is actually doing more for your gut health than you might think.
What Is Jangajji? A Quick Introduction
Jangajji literally means "vegetables preserved in sauce." Unlike kimchi, which relies on lactic acid fermentation, jangajji is typically a soy sauce and vinegar pickle — vegetables are submerged in a boiled brine that's poured over them (sometimes repeatedly over several days), which draws out moisture and lets the seasoning soak deep into the vegetable. The result is a crunchy, savory-sour side dish that keeps in the fridge for weeks, sometimes months.
It's one of the easiest ways to turn everyday pantry vegetables — onion, garlic, cabbage, cucumber, perilla leaves — into something that makes any meal feel more complete.
Ingredients I Use (For All Three Vegetables)
I like making all three at once because the brine base is nearly identical. Here's what's in my kitchen every time:
For the Vegetables
- 4–5 small to medium onions, peeled and quartered
- 1 whole bulb of garlic (about 20–25 cloves), peeled
- 1/2 head of cabbage, cut into large chunks (roughly 2-inch pieces)
For the Brine (Basic Ratio I Always Follow: 1:1:1:1)
- 1 cup soy sauce
- 1 cup rice vinegar (or apple cider vinegar)
- 1 cup water
- 1 cup sugar
- Optional: a few dried anchovies, a piece of kombu, or a dried chili for extra depth
Tip from experience: if you like a saltier, more traditional flavor, increase soy sauce slightly and reduce sugar. If you prefer it closer to a Western-style sweet pickle, add a bit more sugar and vinegar.
Step-by-Step: How I Make Jangajji at Home
Step 1 — Prep the Vegetables
I wash everything thoroughly and let it air-dry completely. This part matters more than people think — any leftover water dilutes the brine and shortens how long the jangajji stays good. I pack the onions, garlic, and cabbage into clean, sterilized glass jars, keeping each vegetable in its own jar since they pickle at slightly different speeds.
Step 2 — Make the Brine
In a pot, I combine the soy sauce, vinegar, water, and sugar, then bring it to a rolling boil, stirring until the sugar fully dissolves. I let it boil for about 2–3 minutes so the flavors meld together.
Step 3 — Pour While Hot
This is the step I used to get wrong: the brine needs to go in while it's still hot, poured directly over the vegetables until they're fully submerged. The heat is what starts breaking down the vegetables' texture and pulls out excess water, which is what gives jangajji its signature crisp-yet-pickled bite.
Step 4 — The "Re-Boil" Method (My Secret for Long Storage)
Once the jars cool to room temperature, I drain the brine back into the pot, bring it to a boil again, and pour it back over the vegetables. I repeat this 2–3 times over 2–3 days. Every time you re-boil and re-pour, you're pushing out more moisture and letting the seasoning penetrate deeper — this is the trick that lets jangajji last for weeks without spoiling, even without refrigeration in the short term (though I always move mine to the fridge after the first week).
Step 5 — Wait (The Hardest Part)
- Onion jangajji: ready to eat in about 2–3 days, best after 1 week
- Garlic jangajji: needs the longest, at least 2–3 weeks, since raw garlic can taste sharp until it mellows
- Cabbage jangajji: ready in about 3–4 days
I always taste-test along the way — the flavor gets rounder and less sharp the longer it sits, and the vegetables take on that beautiful translucent, glassy look.
Why I Keep Coming Back to This Dish: The Health Benefits
Beyond how good it tastes with rice, meat, or noodles, I genuinely make jangajji because of what's actually in it:
1. Garlic and Onion Are Loaded With Allicin
Both garlic and onion contain allicin and other sulfur compounds, which are widely studied for their potential to support heart health, help regulate blood pressure, and offer natural antibacterial properties. Pickling doesn't eliminate these compounds — it just mellows their sharp raw bite, which is honestly why I can eat far more garlic this way than I ever could raw.
2. Cabbage Brings Fiber and Vitamin C
Cabbage is naturally rich in vitamin C, vitamin K, and dietary fiber, all of which support digestion and immune function. Even after pickling, cabbage retains a good amount of its nutritional value, and the fiber helps keep this a filling, low-calorie addition to any meal.
3. A Gut-Friendly Habit
While jangajji made with soy sauce and vinegar isn't lacto-fermented the way kimchi is, the vinegar-based brine and the act of eating small amounts of pickled vegetables alongside rice and protein is a habit that's been part of Korean meals for generations — helping balance out heavier dishes and adding acidity that can aid digestion.
4. Portion-Controlled Flavor Booster
Because jangajji is intensely flavorful, I only need a small spoonful to make a bowl of plain rice exciting. That makes it a naturally portion-controlled way to add flavor without reaching for heavier sauces or extra salt at the table.
My Honest Tips After Making This Many Times
- Always sterilize your jars — I pour boiling water over them and let them dry completely before use.
- Don't skip the re-boiling step for garlic especially; raw garlic left in a single-pour brine can develop a slightly bitter, overly sharp taste.
- Keep jars in the fridge after the first week for the best texture and to extend shelf life safely.
- Use a clean, dry spoon every time you serve some — this is the single biggest factor in whether your jangajji lasts a long time or goes cloudy and off.
Frequently Asked Questions
How long does homemade jangajji last?
Stored properly in the refrigerator with a clean spoon used each time, onion and cabbage jangajji typically last 3–4 weeks, while garlic jangajji can last several months.
Can I make jangajji without sugar?
Yes, though the sugar balances the acidity and saltiness. You can substitute with a small amount of honey, oligosaccharide syrup, or reduce it and let the vegetables mellow longer.
Is jangajji the same as kimchi?
No — kimchi relies on lactic acid fermentation with salt brining, while jangajji is a soy sauce and vinegar-based pickle. Both are Korean preserved side dishes, but the process and flavor profile are quite different.
Final Thoughts
Making jangajji at home turned out to be one of those small kitchen rituals that made my meals feel more grounded — a little bit of my grandmother's kitchen in every jar. If you've never tried making your own onion, garlic, or cabbage jangajji, I really encourage you to start with a small batch. Once you taste how good a spoonful of this can make a plain bowl of rice, you'll understand why Korean households have kept this tradition going for generations.